2.4.Web站点代理
2.4.1.申请站点代理
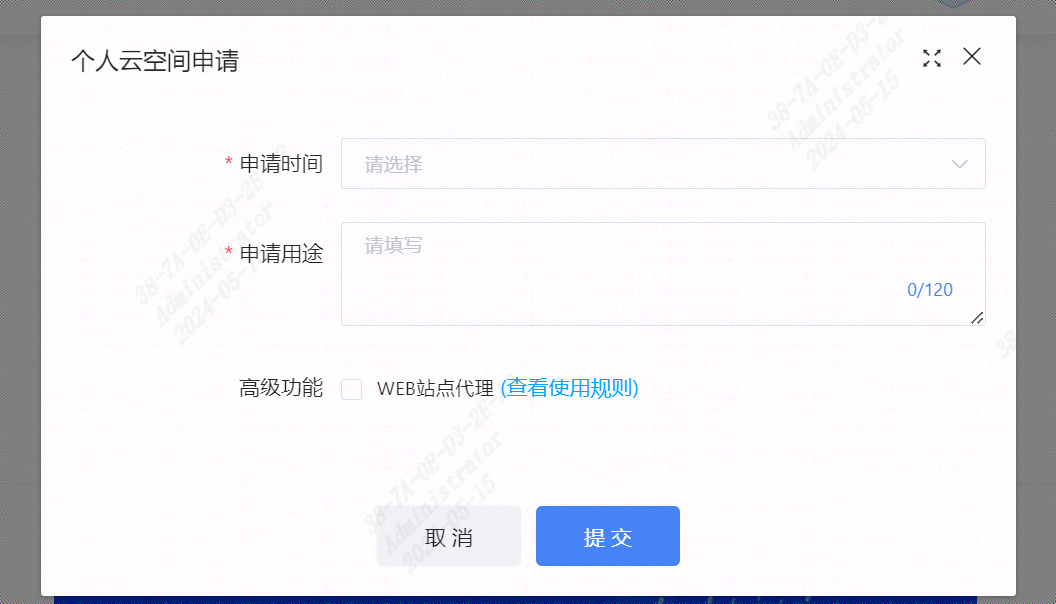
当用户申请个人云空间时,可以勾选"高级功能",申请"Web站点代理"服务。如果用户已经申请开通"Web站点代理"服务,则只需要在申请的云空间中,对80端口进行监听并转发网络请求。
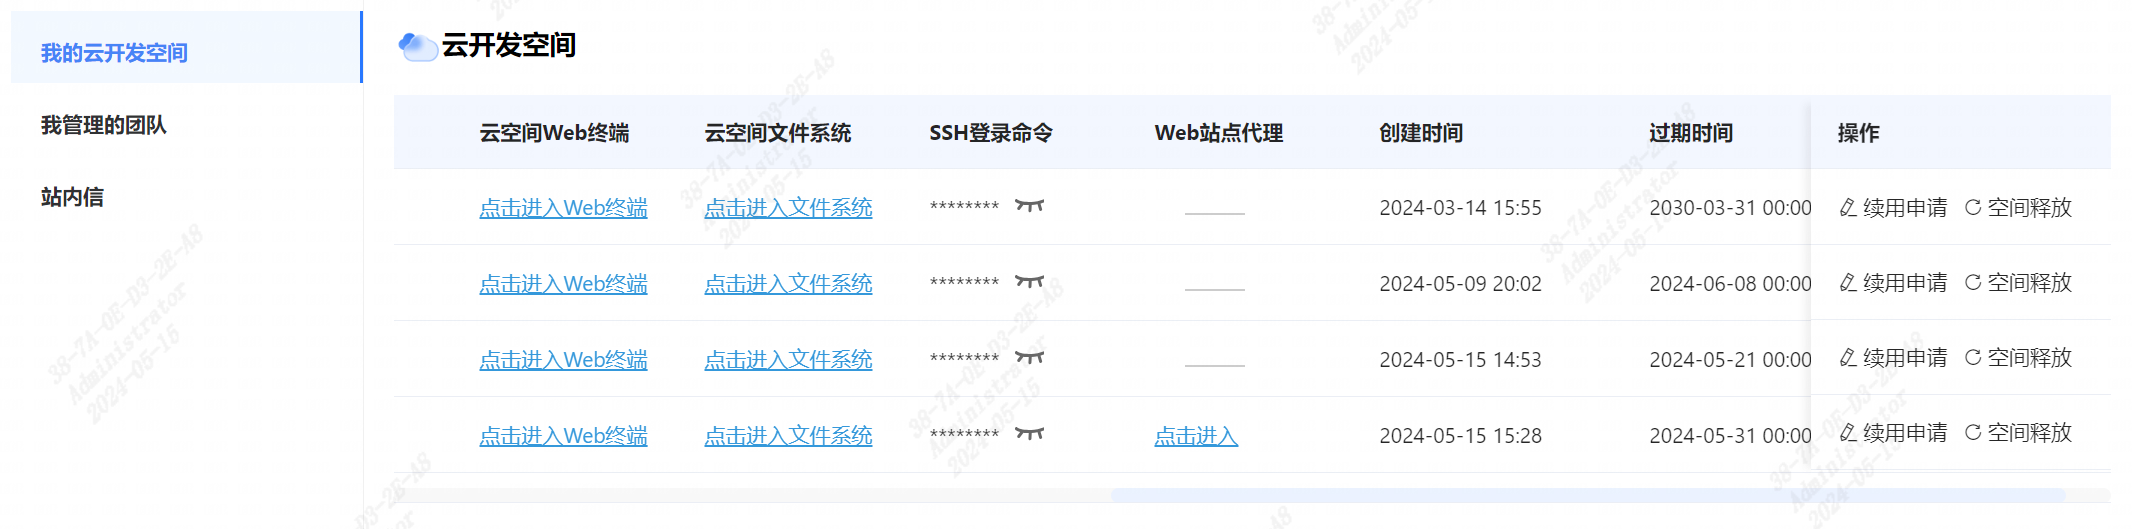
2.4.2.确认Web站点
2.4.3.安装nginx
更新软件包列表:
首先,确保你的软件包列表是最新的:
sudo apt update安装 nginx :
使用
apt安装 nginx :sudo apt install nginx在安装过程中,系统会显示安装进度并请求确认,输入
y并按 Enter 来继续安装。启动 nginx:
安装完成后,nginx 会自动启动。如果没有自动启动,你可以手动启动它:
sudo systemctl start nginx验证安装:
打开 web 浏览器,并访问 https://openapi.sophnet.com/bj38d2c

管理 nginx 服务:
使用以下命令来停止、重启或检查 nginx 服务状态:
停止 nginx:
sudo systemctl stop nginx重启 nginx:
sudo systemctl restart nginx检查 nginx 服务状态:
sudo systemctl status nginx启用 nginx 开机自启动:
sudo systemctl enable nginx
2.4.4.配置nginx代理服务
修改nginx的配置文件,通常是 /etc/nginx/sites-available/default或类似的文件。
打开 nginx 配置文件
使用文本编辑器打开 nginx 的默认配置文件。
sudo vim /etc/nginx/sites-available/default配置代理转发(下面是举例:用户可根据自己的需求进行配置)。
  location ^~ /user {
    proxy_hide_header X-Frame-Options;
    proxy_set_header  X-Real-IP $remote_addr;
    proxy_set_header X-Forwarded-For $proxy_add_x_forwarded_for;
    proxy_set_header Host $http_host;
    proxy_redirect off;
    proxy_read_timeout 600s;
    proxy_send_timeout 600s;
    proxy_http_version 1.1;
    proxy_set_header Upgrade $http_upgrade;
    proxy_set_header Connection "upgrade";
    proxy_pass http://localhost:8080/user;
  }
在完成编辑后,保存文件并关闭编辑器。使用以下命令检查 nginx 配置是否正确。
sudo nginx -t如果输出显示 "syntax is okay",表示配置正确。重新启动 nginx 服务,使更改生效。
sudo systemctl restart nginx运行网络请求监听程序
假设有如下网络请求监听程序:访问
/user路径的网络请求,将会被转发至www.sophgo.com
启动网络请求监听程序

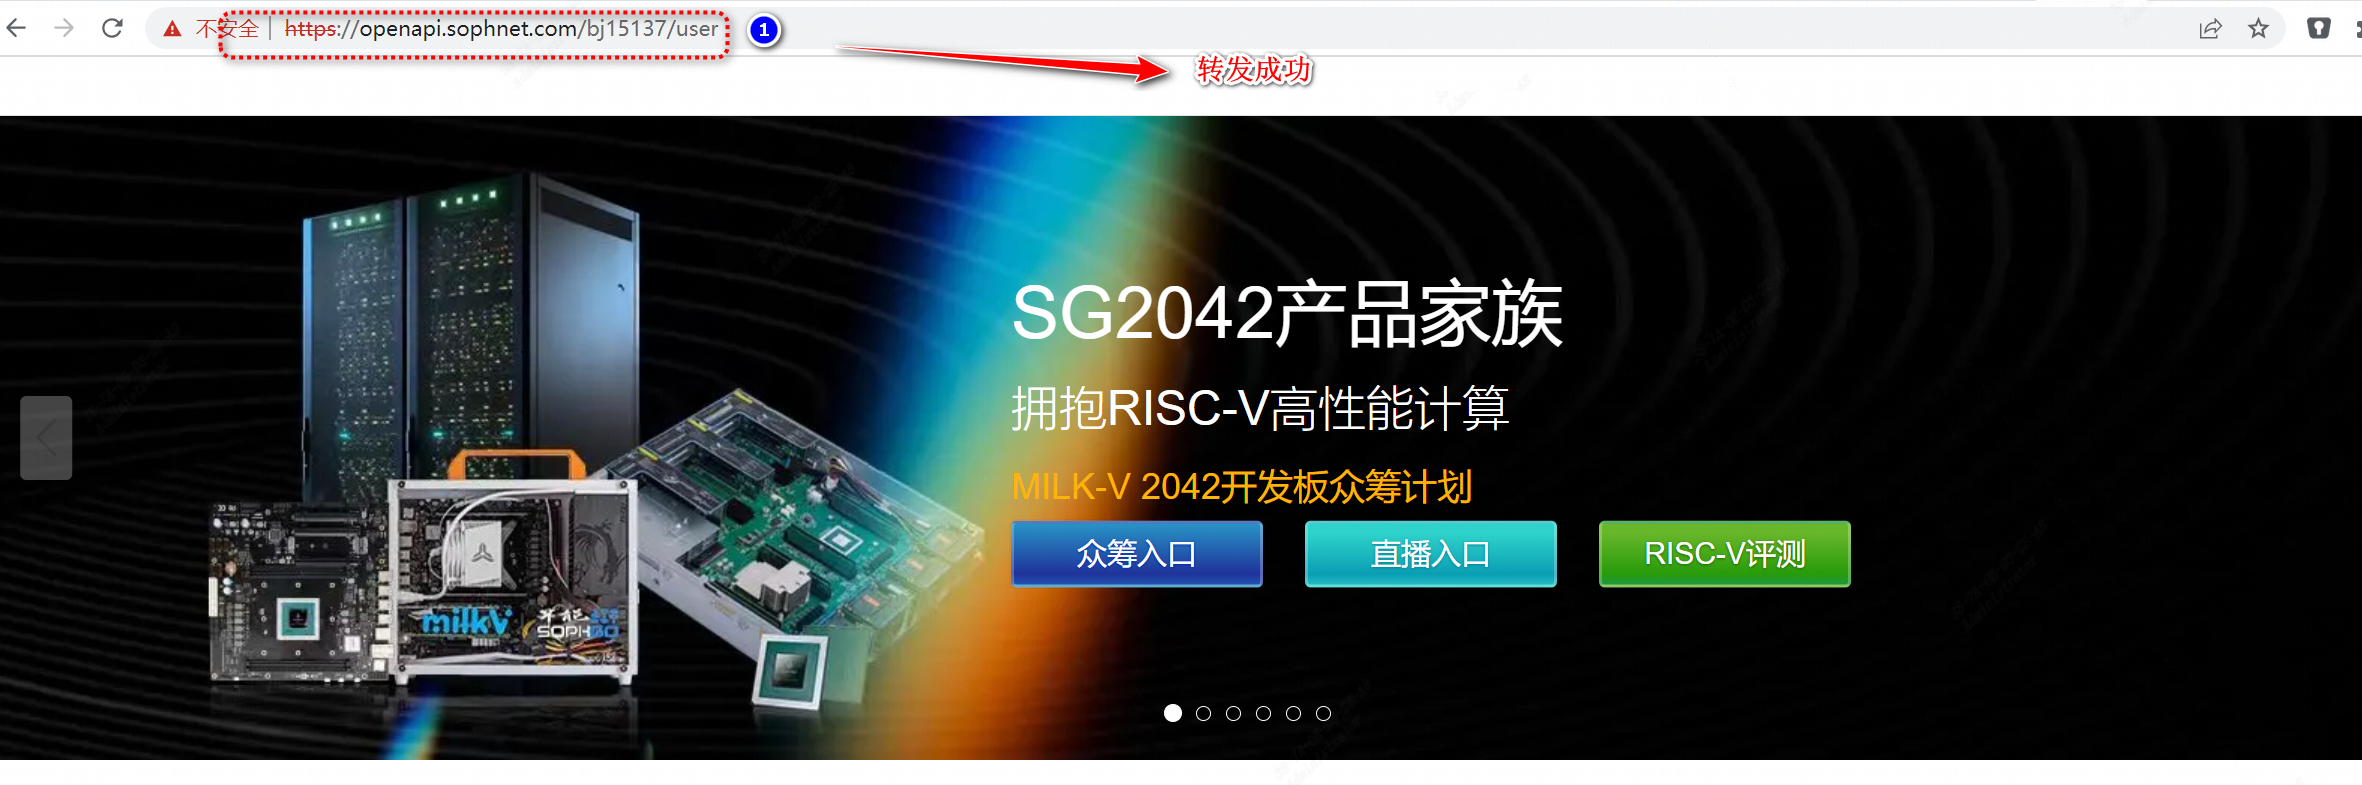
网络监听转发测试
2.4.5.注意事项
- Web站点代理服务仅限用户用于开发和测试等相关事宜;如果用于非法用途,算能有权追究用户责任。